
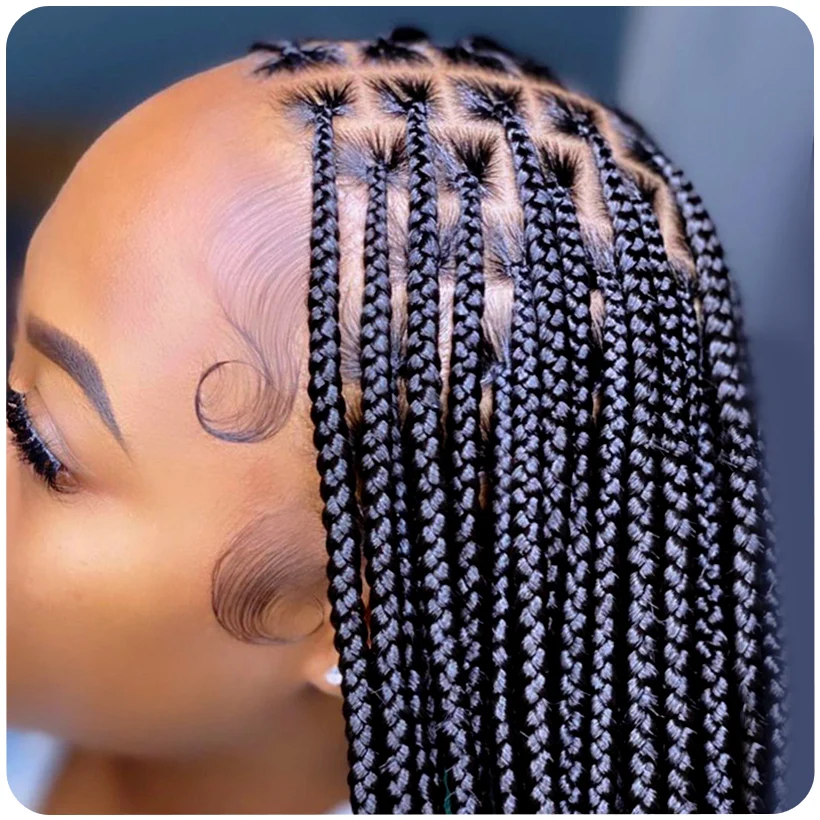
Assessing Your Hair Health Before Getting Braids Healthy hair forms the foundation for successful braiding experiences. Examine strands closely for damage including split ends, breakage, thinning patches, or uneven porosity that could worsen under tension. Schedule a professional trim at least one week ahead to eliminate splits and promote even growth. Apply a protein-based deep conditioner or mask twice during the preparation phase to fortify elasticity and reduce snapping risks. Individuals with fine, chemically treated, or low-density hair benefit most from this step because weak strands struggle with added weight from extensions. Track moisture levels by performing a simple stretch test on clean sections; if hair snaps quickly, prioritize hydration routines over styling. These evaluations prevent post-braid fallout and support longer wear times without compromising scalp integrity.
Preparing Your Scalp for Braids Scalp readiness minimizes irritation and infection chances once braids are installed. Use a clarifying shampoo two days prior to remove product buildup, oil, and debris that trap bacteria. Follow with a gentle exfoliating scrub featuring salicylic acid or natural ingredients like sugar and tea tree oil to clear dead skin cells. Massage lightweight oils such as jojoba, grapeseed, or diluted rosemary into the scalp nightly to boost circulation and maintain pH balance. Skip heavy butters or silicones that create residue under braids and lead to itching or flaking. Those prone to dandruff or seborrheic dermatitis should consult a dermatologist beforehand for prescription options if over-the-counter treatments fail. Patch-test any new scalp products on the inner arm forty-eight hours in advance to catch allergic reactions early.
Selecting Suitable Braid Styles and Sizes Braiding options range widely so alignment with lifestyle proves essential. Box braids deliver versatility for updos and last four to six weeks when medium-sized, while cornrows hug the scalp for a sleek protective finish ideal for active routines. Micro braids demand eight-plus hours and suit thick hair but increase tension risk, whereas jumbo styles install in three hours and reduce root stress yet may unravel sooner. Match size to face shape and density—larger parts flatter round faces while smaller ones elongate oval shapes. Research extension materials like kanekalon or x-pression for durability and discuss color matching to blend seamlessly with natural roots. Factor daily activities because elaborate designs require frequent edge touch-ups and may limit swimming or intense workouts.
Acquiring Necessary Products and Tools Stock essentials before the appointment to streamline aftercare. Secure satin bonnets, scarves, and pillowcases that cut friction and preserve moisture overnight. Choose alcohol-free moisturizing sprays containing glycerin, aloe, and water for daily spritzing without buildup. Add edge control gels, wide-tooth combs, and silk scrunchies for gentle manipulation during refreshing. Include clarifying shampoo, leave-in conditioner, and oil blends formulated specifically for braided hair to handle washing every seven to ten days. These items eliminate rushed store runs and support consistent hydration that extends style longevity by weeks.
Evaluating Time and Financial Investments Braiding appointments typically consume four to ten hours based on length, size, and stylist experience. Block an entire day free from other obligations and bring water, snacks, or entertainment. Service fees range one hundred fifty to six hundred dollars depending on geographic location, hair length, and whether extensions are included. Add twenty percent tip plus future touch-up costs around week three. Budgeting accurately avoids financial strain and sets realistic expectations about the commitment level involved in achieving polished results.
Discussing Details with Your Chosen Professional Transparent conversations with the stylist yield customized outcomes. Provide full hair history covering recent dyes, relaxers, or heat damage that affect braid suitability. Share reference photos and specify desired tightness, part patterns, and extension type to prevent mismatches. Inquire about installation techniques such as feed-in methods that distribute tension evenly and request demonstrations of proper aftercare. Confirm experience with your hair texture to ensure appropriate sectioning and knot security.
Addressing Common Concerns and Precautions Traction alopecia remains a primary risk when braids pull too tightly at the hairline or temples. Request looser edges and monitor discomfort during installation, speaking up immediately if pain exceeds mild pressure. Select hypoallergenic synthetic or human hair extensions if sensitive to certain fibers. Prepare over-the-counter pain relief and cooling gels for the first forty-eight hours of adjustment. Regular scalp checks every few days catch early irritation signs before they escalate into infections or hair loss.